

Update March 2019: The previous version of this post referenced a menu exporting plugin that hasn’t been updated since 2011. Yikes! We wanted to bring you a more current plugin to help you export menus. We’ve updated the link below. The instructions remain the same.
Recently I had the need to set up several sites for a client with the same WooCommerce inventory and the same navigation. Being that the menu was fairly bulky, and being that WooCommerce categories can’t be placed easily into the menu the way that post categories can be, I was in need of a solution to export the custom navigation menus to save myself quite a bit of work.
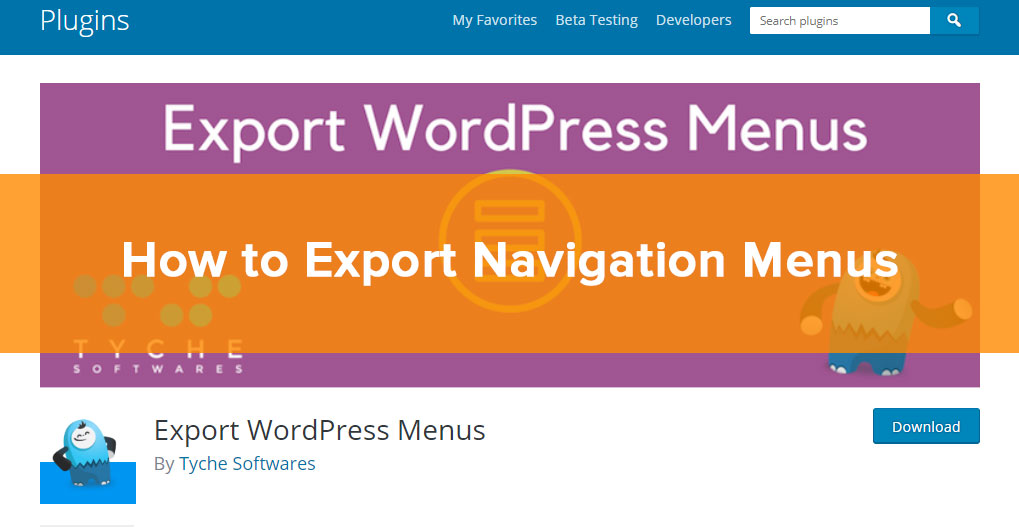
After doing a quick Google Search, I found the following menu exporting plugin: Export WordPress Menus
How to Export and Import a WordPress Menu
- Upload the plugin to your site and activate it
- Click Tools > Export
- You should now see an option for Navigation Menu Items. Click the radio button next to it.
- Click Download Export File
- Login to the site where you want to import the menu
- Click Tools > Import
- Select the bottom option of WordPress (install and activate the importer plugin if prompted)
- Click the Choose File button and select the file you just exported
- When the upload is complete, go to Appearance > Menus and view the menu you want to work with
- Be sure to fix any custom links that were hard-coded
- Save your menu and you’re done!
NOTE: It is best if, when you create your menus, you do so using only the part of the URL that comes after the domain name (ex. /products/my-product-cat/ rather than mysite.com/products/my-product-cat). This will avoid you having to change the domain name of each link later.
There you have it. Any questions or comments, leave ’em below!
Want to learn about more useful WordPress Plugins? Check out our post on the Top 10 WordPress Plugins Everyone Should Use.

